Pages
VTOL VR
Back into a Unity project
AssetRipper is a tool for extracting assets from serialized files (CAB-*, *.assets, .sharedAssets, etc.) and assets bundles (.unity3d, *.bundle, etc.) and converting them into the native Unity engine format.
We can use AssetRipper to convert VTOL VR back into a useable Unity Project. This page will cover the sets on how to do that.
Downloading AssetRipper
To use Asset Ripper, you first need to download and install the software by following these steps:
- Download the latest release of Asset Ripper from the project's GitHub page.
- Extract the contents of the downloaded .zip file into a new folder on your computer.
- Launch AssetRipper.GUI.Free.exe to start the program.
Changing the default settings
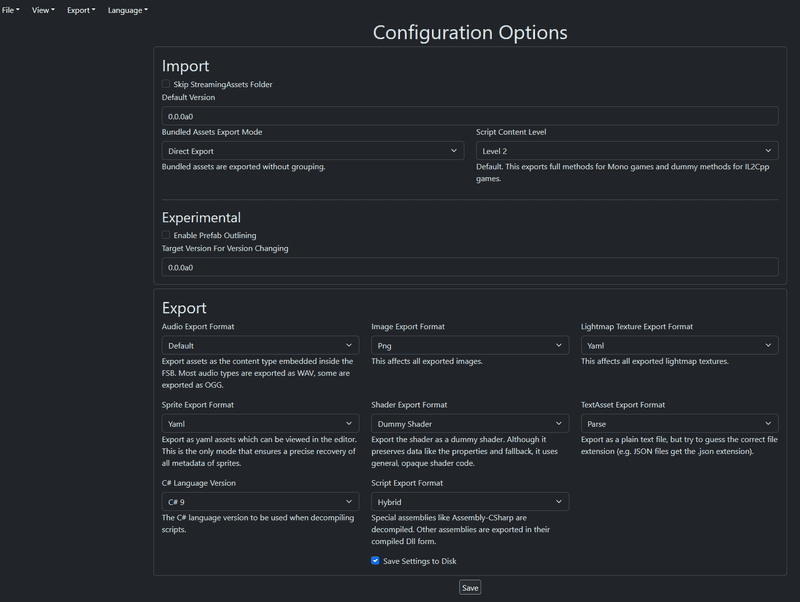
There is some settings you need to change to for the best experience. Go to File > Settings in the web interface.
- Change the C# version to "C# 9"
- Ensure that "Script Content Level" is set to "Level 2"
- Press "Save"
Copying DLC Files
If you have any DLC files you want to export as well:
- Open the "DLC" folder in VTOL VR
- Copy all the folders and paste them into VTOLVR_Data > StreamingAssets
Converting Game files
Now we can autally start converting the game files.
- Go to File > Open Folder (A new window might open up in the background)
- Select your VTOL VR game folder.
- Press Export > Export All Files
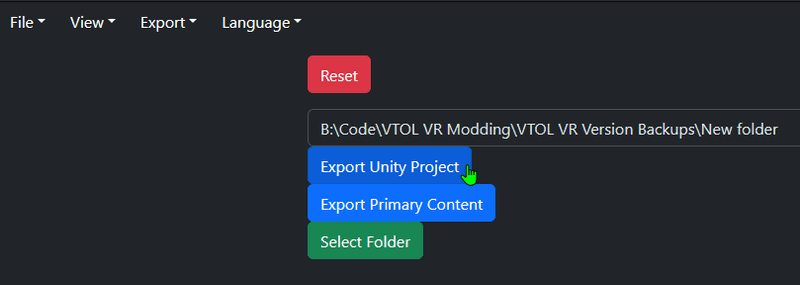
- Press "Select Folder", this will be where the unity project will be exported to.
- Press "Export Unity Project"
When you press the button you might see your browser just refreshing. If you switch over to the console window, you'll see it working away.
- After the export has completed, delete the "AuxiliaryFiles" folder that Asset Ripper created.
- Move the contents of the "ExportedProject" folder into the root folder you chose in step 5.
- Delete the following files to stop Unity crashing on
- Assets\Scenes\LoadingScene\LightingData.asset
- Assets\Scenes\LoadingScene\LightingData.asset.meta
- Assets\Scenes\Maps\Akutan\LightingData.asset
- Assets\Scenes\Maps\Akutan\LightingData.asset.meta
- Assets\Scenes\ReadyRoom\LightingData.asset
- Assets\Scenes\ReadyRoom\LightingData.asset.meta
- Assets\Scenes\SamplerScene\LightingData.asset
- Assets\Scenes\SamplerScene\LightingData.asset.meta
- Assets\Scenes\VTMapEditMenu\LightingData.asset
- Assets\Scenes\VTMapEditMenu\LightingData.asset.meta
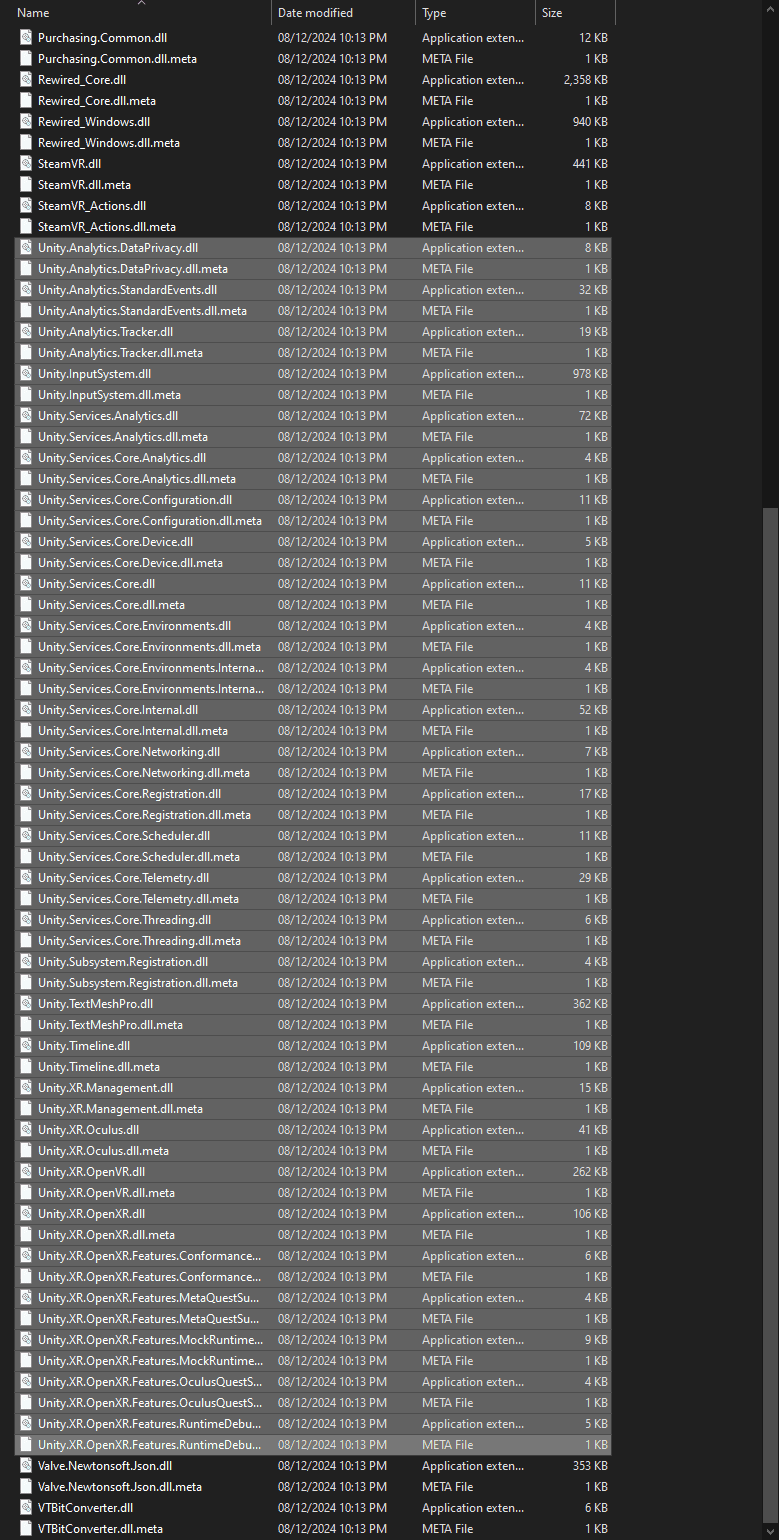
- Inside the Assets > Plugins folder, delete all of Unity's DLLs
- Inside of Assets > Plugins folder, also delete the SteamVR DLLs
- Open the Unity Project from the Unity Hub
The first time you open it will take the longest. Once you've opened it once, future times will be much quicker.
Opening and fixing the errors
AssetRipper displays the version of Unity that the game uses, along with a download link for that specific version. Under Export tab. Clicking this version should open UnityHub and download the correct version right away.
- Press "Add to my Assets" for the SteamVR plugin from the Unity Asset Store
- Open the exported project in Unity. If the "Enter in safe mode" prompt appears, select "Ignore".
- Once Unity is open, open the Package Manager under the Window drop down at the top of the screen
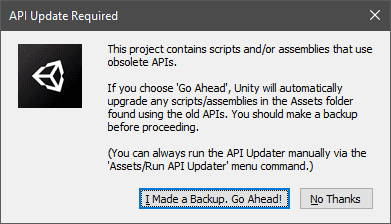
- Under the Unity Registry, install the 2D Sprite, Input System, TextMeshPro (Press "No Thanks" to the pop up) and XR Plugin Management
- In the top left, switch to My Assets from the Unity Registry and download then import the SteamVR Plugin. When importing SteamVR Plugin, make sure to deselect SteamVR > Input > Plugins > JSON.NET > Valve.Newtonsoft.Json.dll. You can delete it manually after in case you forgot to.
- Open
Scripts\Assembly-CSharp\Rewired\UI\ControlMapper\ControlMapper.csand comment out the if statement on line 398
triggerEvent.AddListener(delegate(BaseEventData data)
{
    //if (!(data is PointerEventData { button: not PointerEventData.InputButton.Left }))
    //{
    //	callback(toggleInfo, toggle.isOn);
    //}
});
- Reboot Unity, press "No Thanks" and "Ignore" to any pop ups
- Going to the console and pressing Clear should show only a few errors left
- You should see get_transform methods, replace them to be like the code snippet below
// Replace it from this
[SpecialName]
Transform ICanvasElement.get_transform()
{
    return base.transform;
}

// To this
[SpecialName]
Transform ICanvasElement => base.transform;
- Go to the Edit > Project Settings > XR Plugin-in Management and check Open XR & Oculus
It is highly recommended that you make a back of this exported folders incase you change something and want to remember how it was like in the default game files.


